F.A.Q
Your login credentials are given to you by your property manager.
Life happens! In case you forgot your user id or password, you can retrieve it in two ways:
1-Click on forgot user name or password option located just below login. An email with your login credentials will be sent to your email address, which is
associated with your
GateMasters account.

Here is direct link to Resident module www.gatemastersinc.com/Resident/Account/Login
Some of the key features of your Residential Portal includes :

From time to time your Association Management may send out emails to notify residents about upcoming events or other important information using
GateMasters eBlasts function.Primary residents are enrolled for eBlast by default.
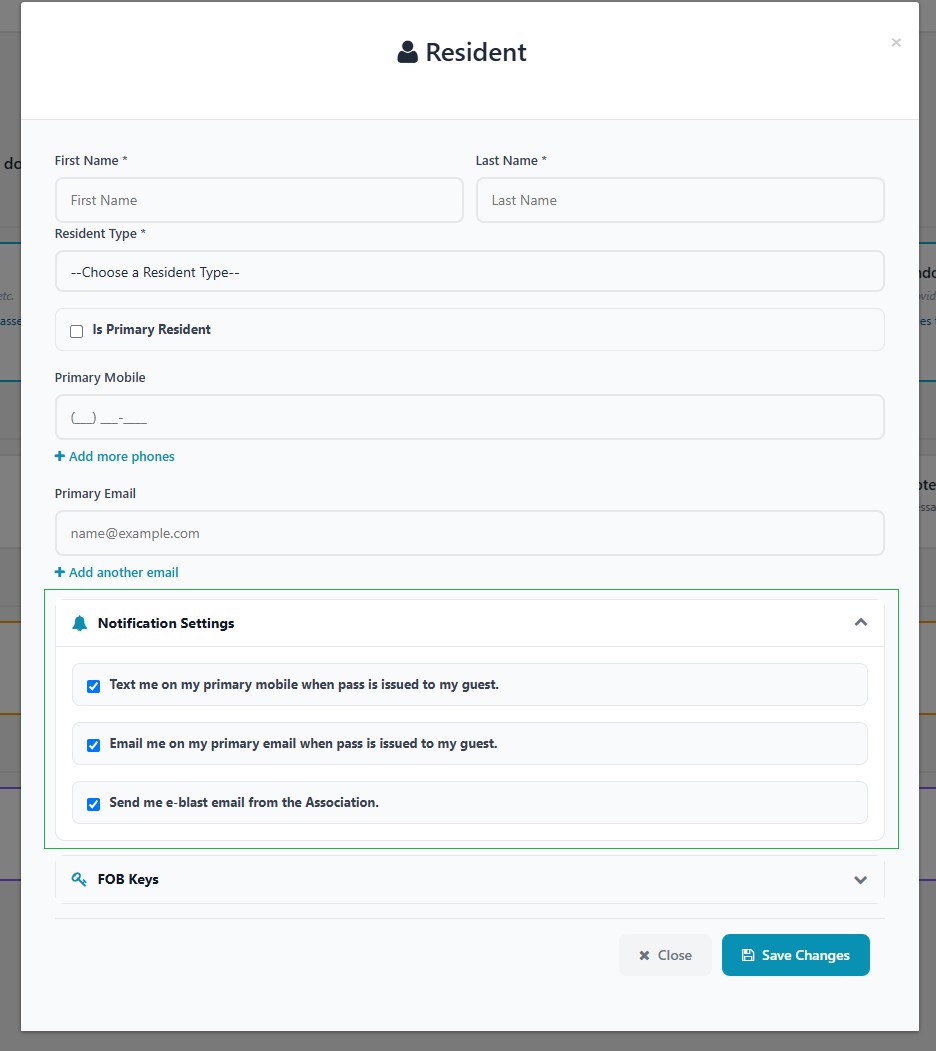
Other residents within the same address can be enrolled for eblast simply by clicking the eblast check box on their resident update screen. see below:
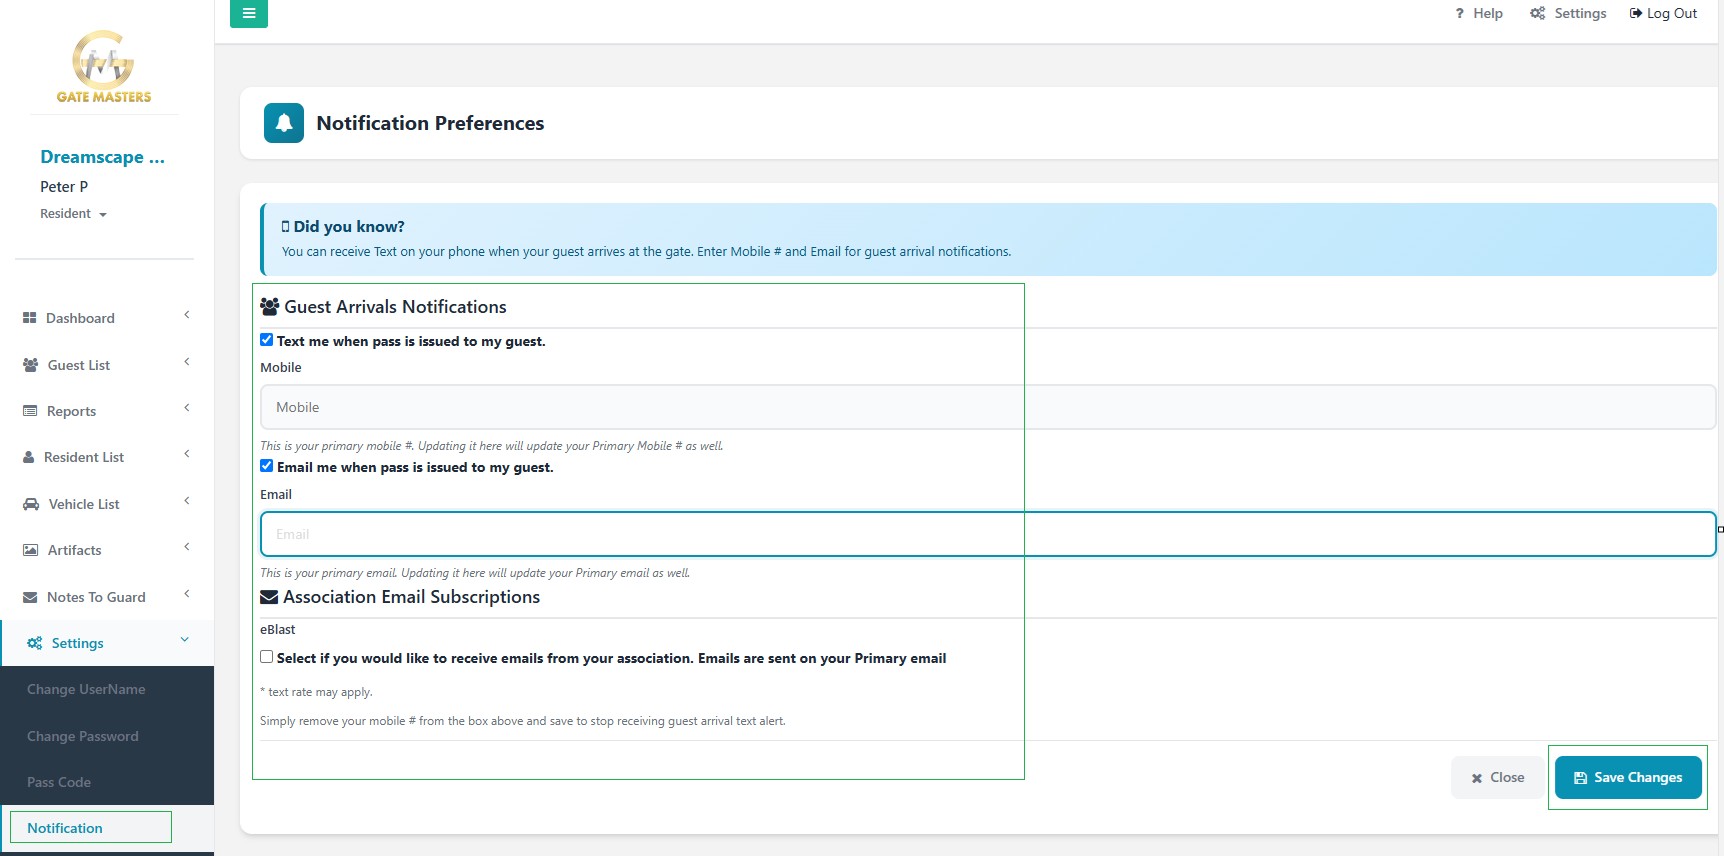
1. Enrolling or opting out of Eblast for yourself.
- Login to GateMasters Resident Portal
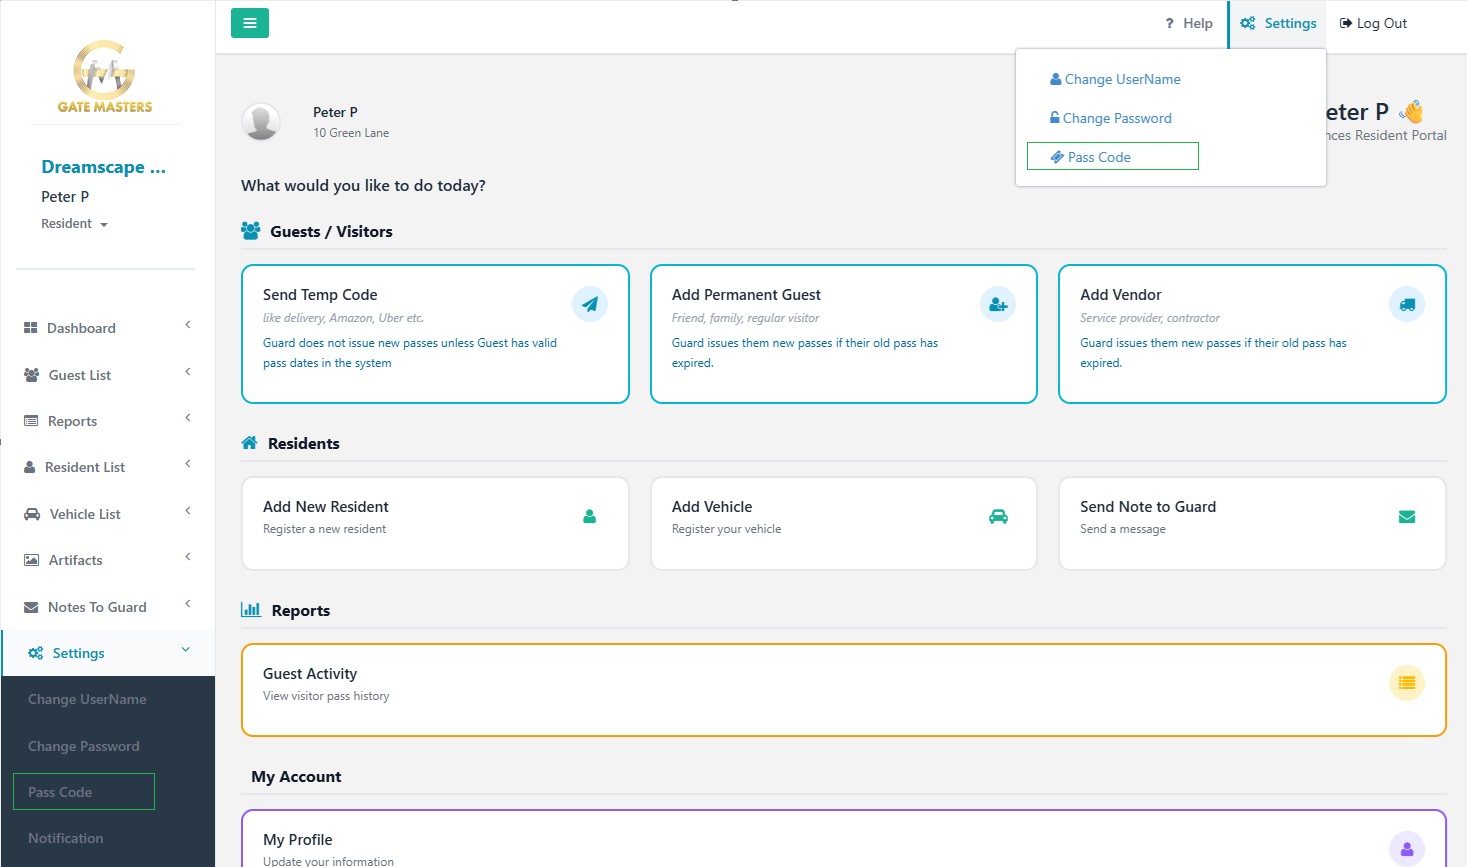
- Click on Settings --> Notification on the left menu.
- Check to enroll or Un-check to opt-out of eblast.
- Click on Save button.
2. Enrolling or Opting out of EBlast for other residents on the same address.
- Login to GateMasters Resident Portal
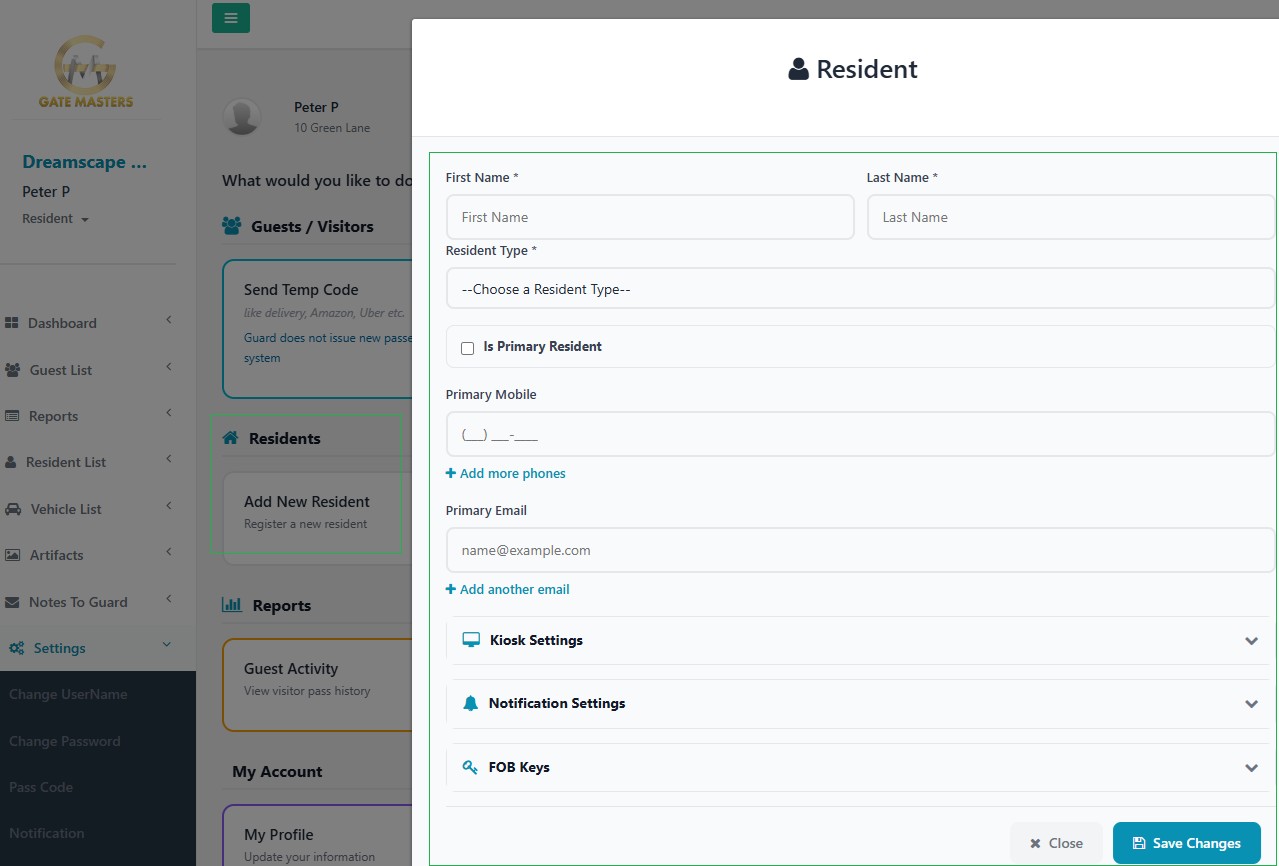
- Click on the Resident List on the left navigation menu.
- Click on the Edit button on the right of the resident record for whose eblast setting needs to be changed.
- Check to enroll or Un-check to opt-out of eblast.
- Click on the Save button.

Login to your resident portal using your login credential and you can find your passcode option located on the top right corner of your page.
Find answers about signing in, managing guests, residents and vehicles, kiosk access, visitor calls, notifications, and account security. Features and labels may vary based on your community's configuration.
Getting Started
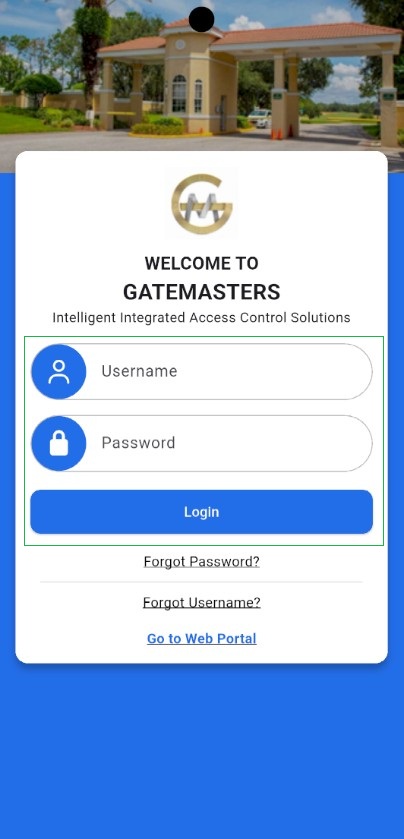
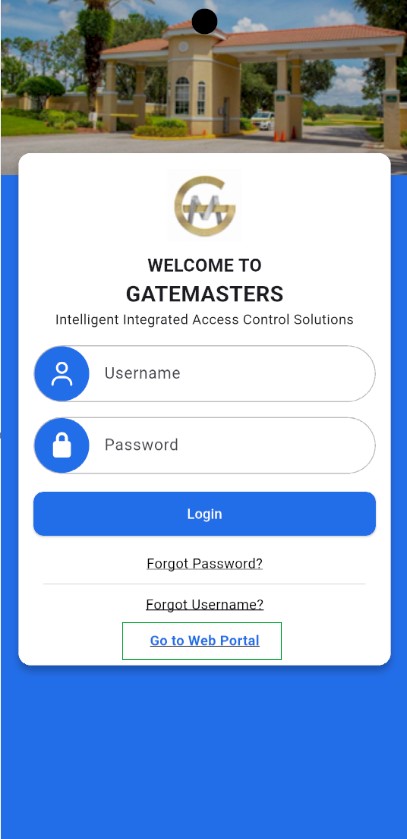
Enter the username and password assigned to your resident account, then select Login. After authentication, the app opens your personalized Dashboard.
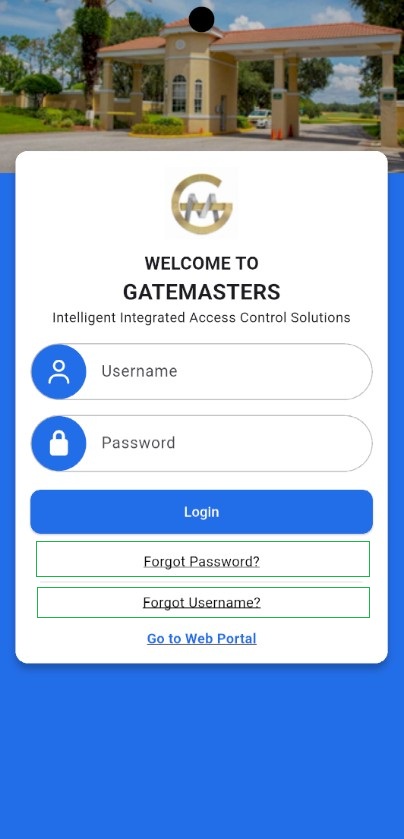
Select Forgot Username? or Forgot Password? on the Login screen. The app opens the appropriate GateMasters recovery page in your browser.
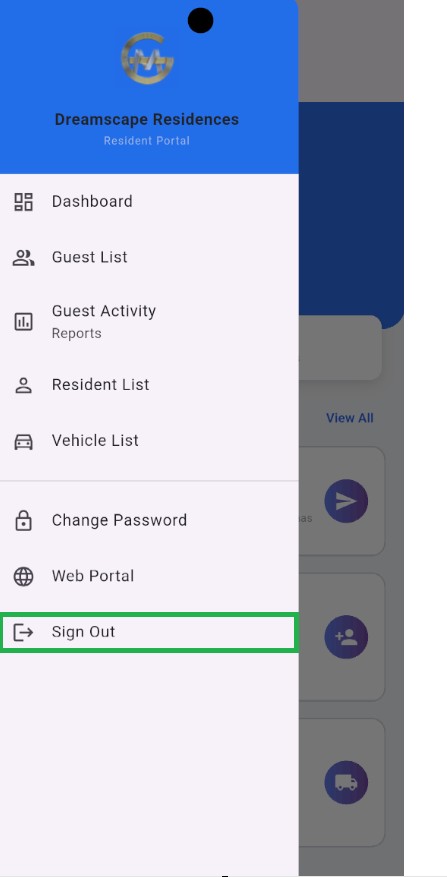
The app securely retains your authenticated resident session. To end the session on that device, open the navigation drawer and select Sign Out.
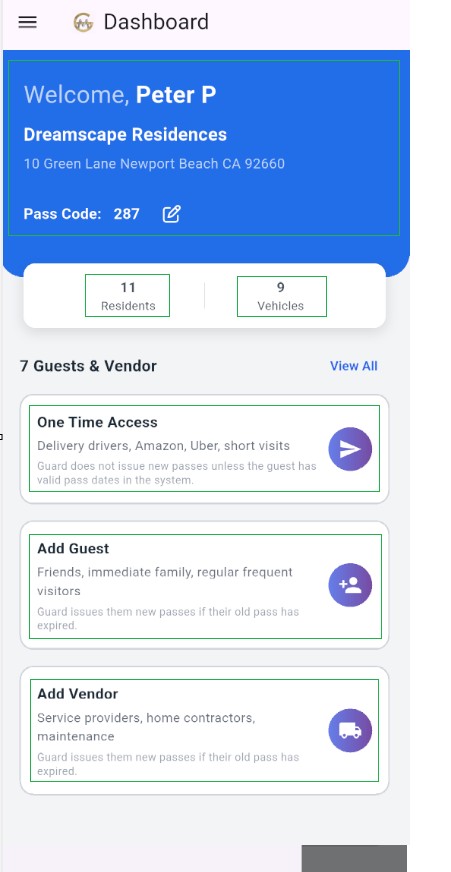
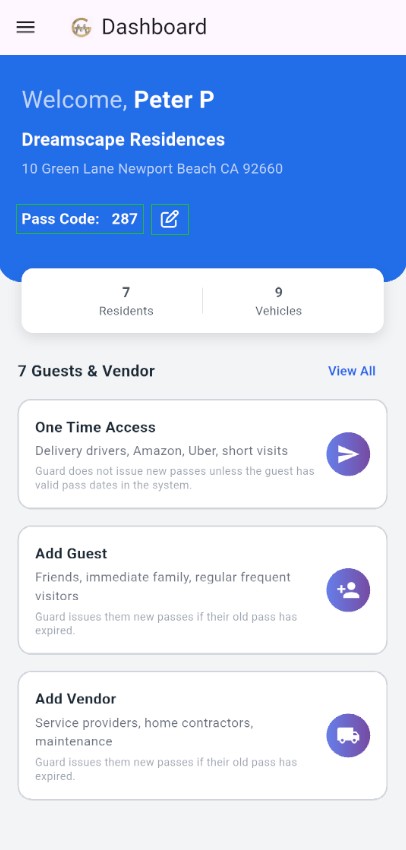
The Dashboard displays your name, community, address, pass code, resident and vehicle counts, guest total, and shortcuts for adding temporary guests, permanent guests, and vendors.
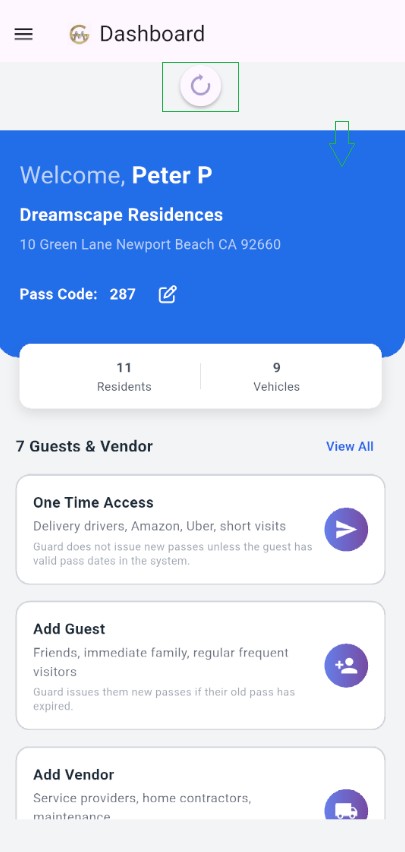
Pull down on the Dashboard, Guest List, Resident List, Vehicle List, or Guest Activity screen to retrieve the latest information.
Guests, Vendors, and Passes
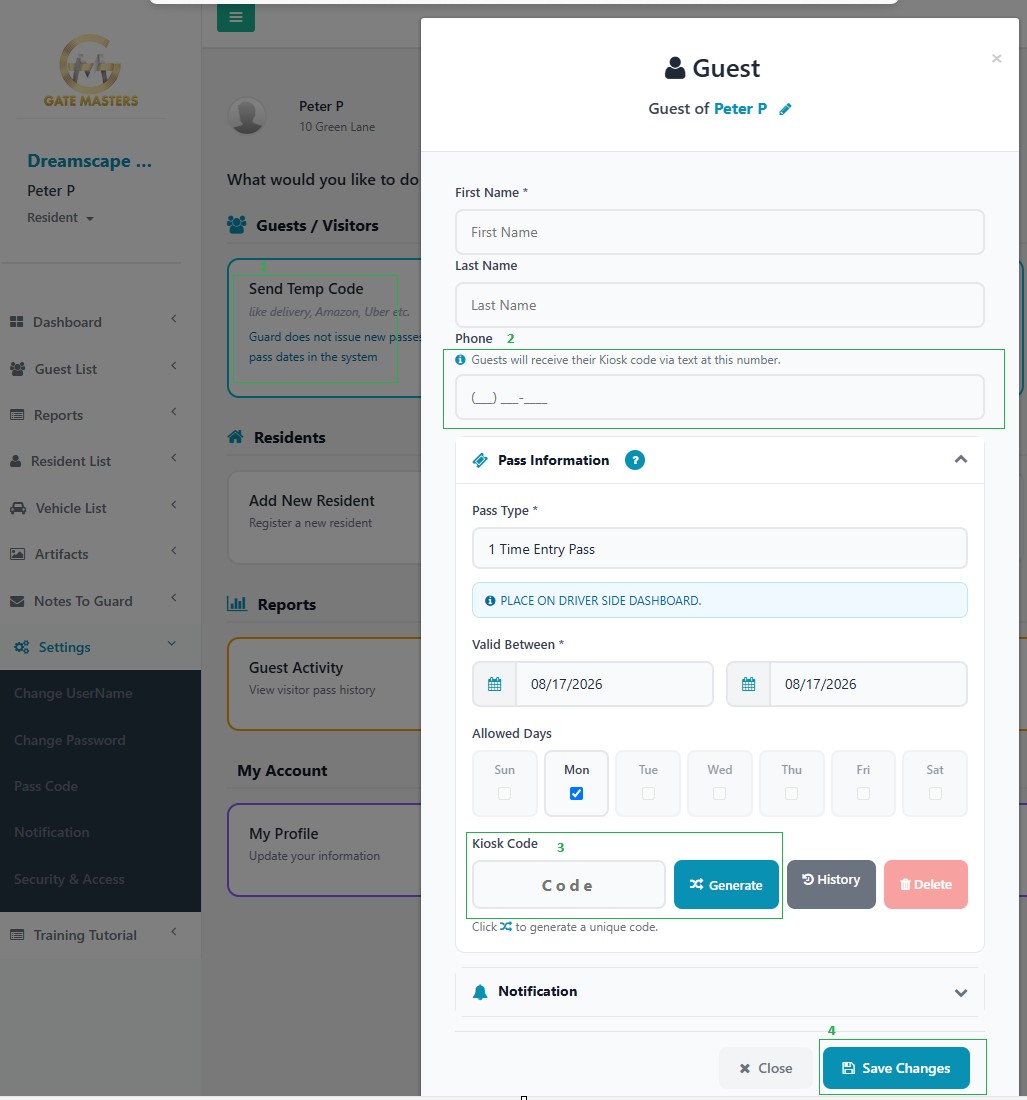
Immediately after signing in, select One Time Access, Add Guest, or Add Vendor on the Dashboard. This opens the correct guest form without requiring navigation through the menu.
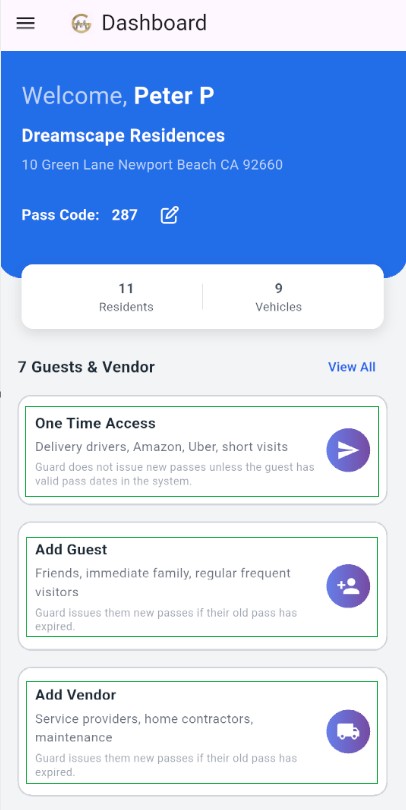
Use One Time Access for deliveries and short visits, Add Guest for friends, family, and frequent visitors, and Add Vendor for contractors, cleaners, maintenance personnel, and other service providers.
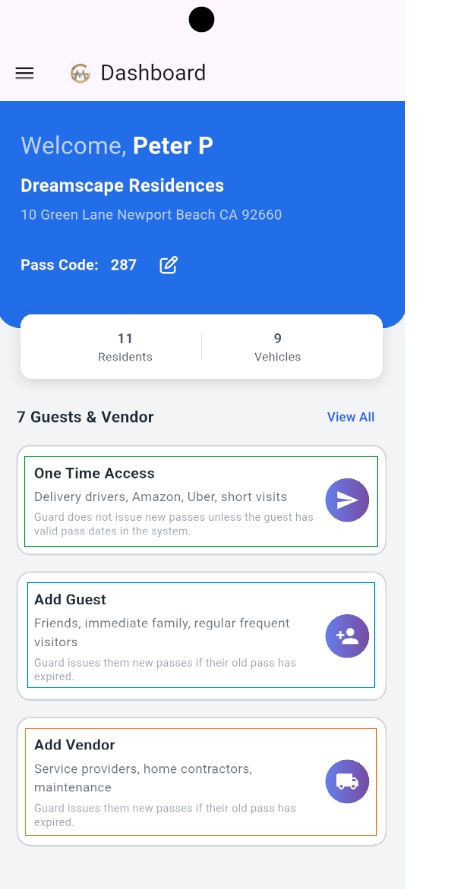
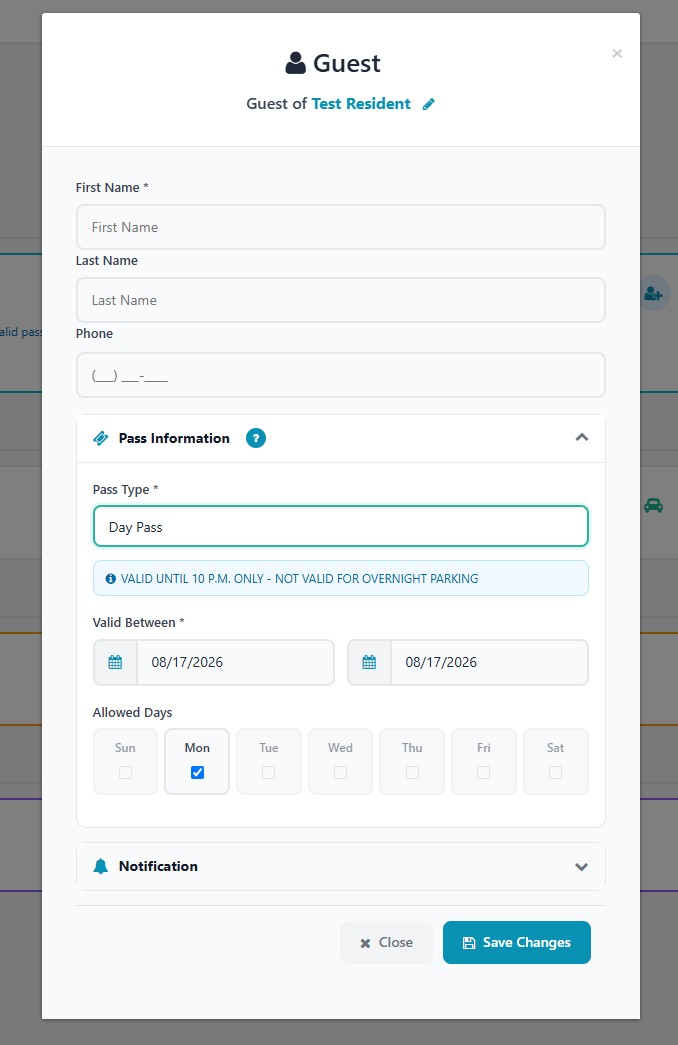
Select the resident under Guest Of, provide the required first or contact name, and choose a pass type. Some pass types also require valid dates and at least one allowed entry day.
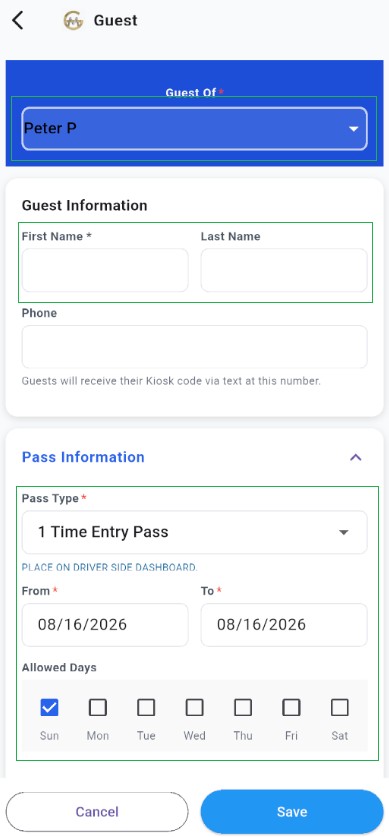
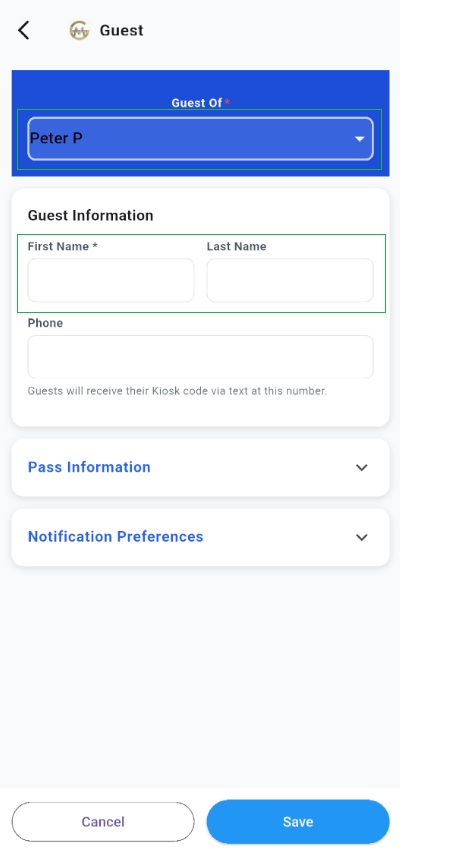
The app filters pass types based on whether you selected Temporary, Permanent, or Vendor. Available options and access rules are configured by your community.
Some pass types have a maximum duration or specific permitted days. The app applies those community rules and displays a message when it adjusts the schedule automatically.
Open Add Vendor, then select Add Vendor in the Vendor Details section. Enter the vendor name, contact information, and description. Select Select Existing Vendor to return to the registered-vendor list.
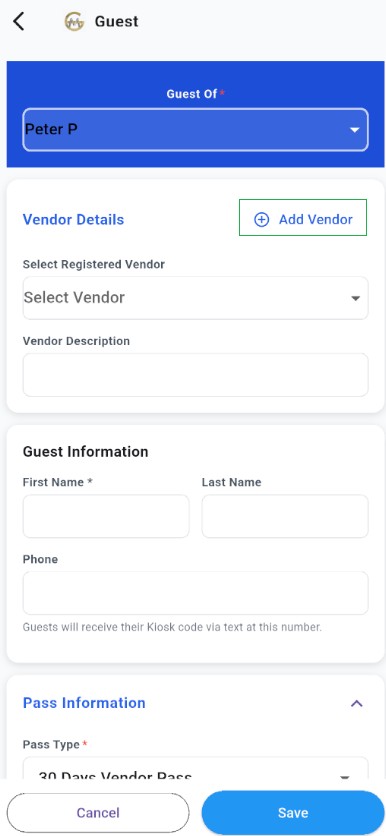
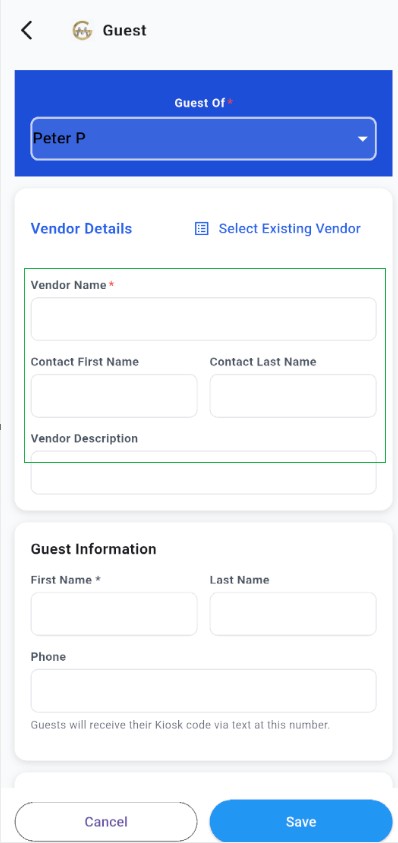
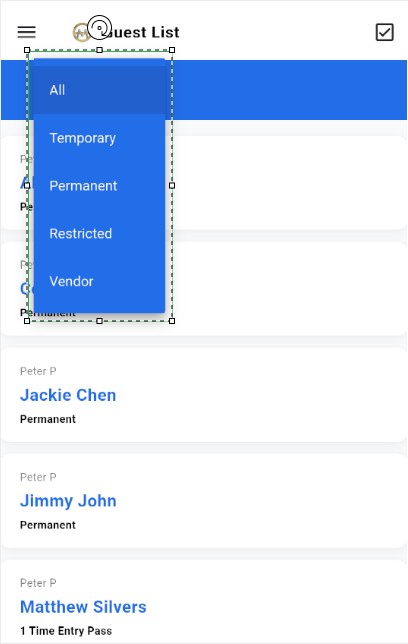
Open Guest List and use the filter to select All, Temporary, Permanent, Restricted, or Vendor.
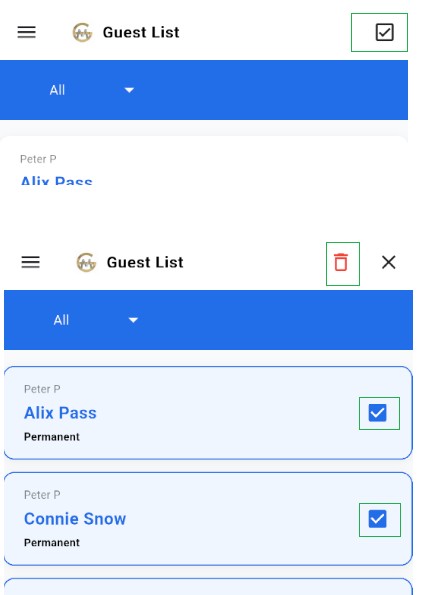
Yes. On the Guest List, select the checkbox icon or press and hold a guest, select the records to remove, then select the red delete icon and confirm.
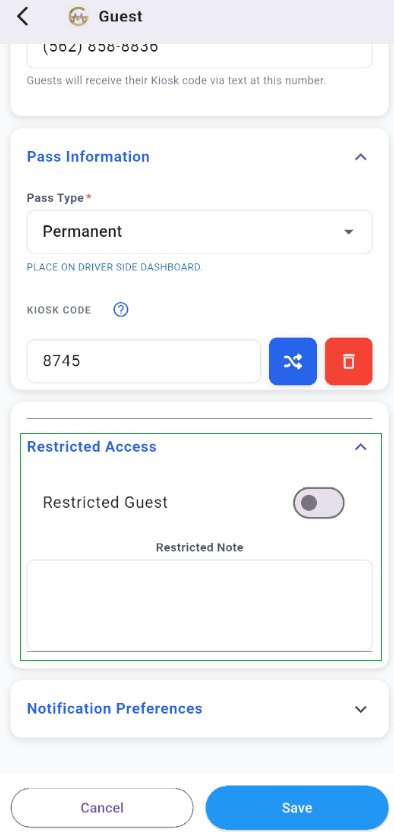
Open the guest, select Edit, expand Restricted Access, enable Restricted Guest, and enter instructions for the guard as needed. Save the changes.
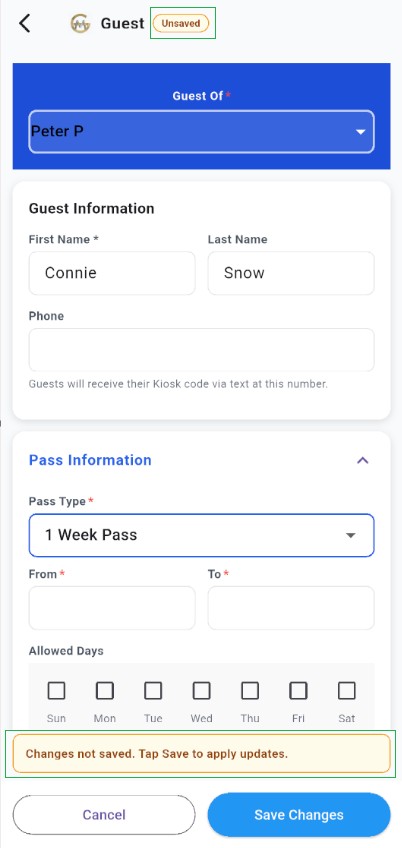
The app warns you about unsaved changes. Select Keep Editing to return to the form or Cancel to leave without applying them.
Kiosk Codes and Gate Access
A kiosk code is a four-to-six-digit number a guest can use at a supported community kiosk. Its validity can depend on the pass dates and allowed days.
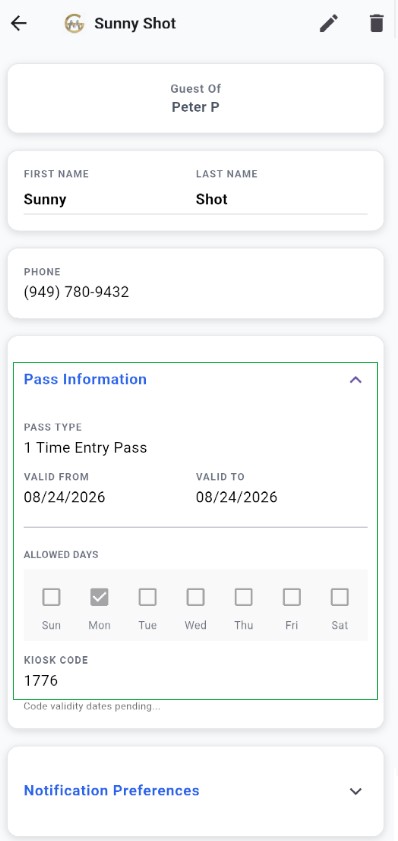
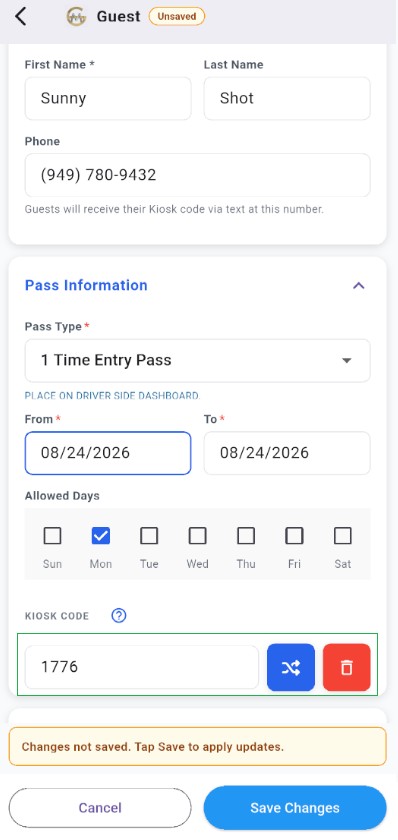
Open the guest form, expand Pass Information, and enter a numeric code or select the shuffle icon to generate one. Kiosk options appear only for kiosk-enabled communities.
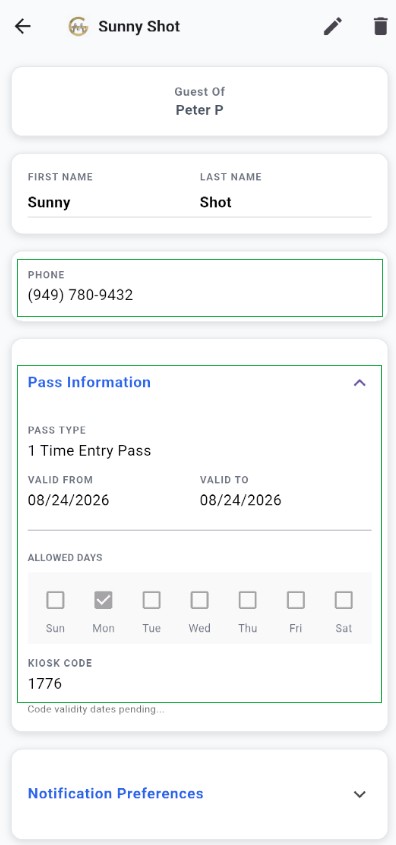
Enter the guest's mobile number in the Phone field. For supported kiosk accounts, the guest can receive the code by text.
The code's To date has passed. Edit the guest, update the pass dates or pass type, review the allowed days, and save the changes.
Residents and Vehicles
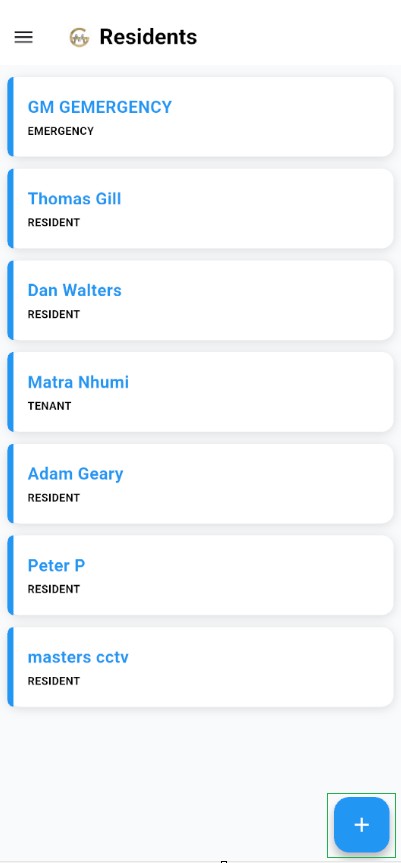
Open Resident List and select + to add someone, or select an existing resident and then select the edit icon. First name, last name, and resident type are required.
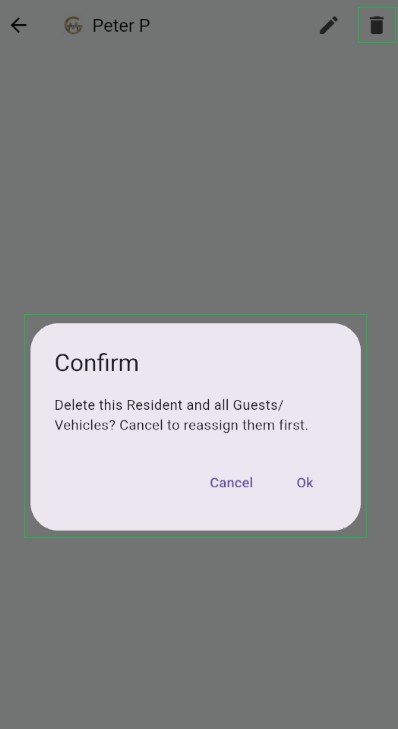
The app warns that associated guests and vehicles may also be deleted. Cancel the operation and reassign those records first when necessary.
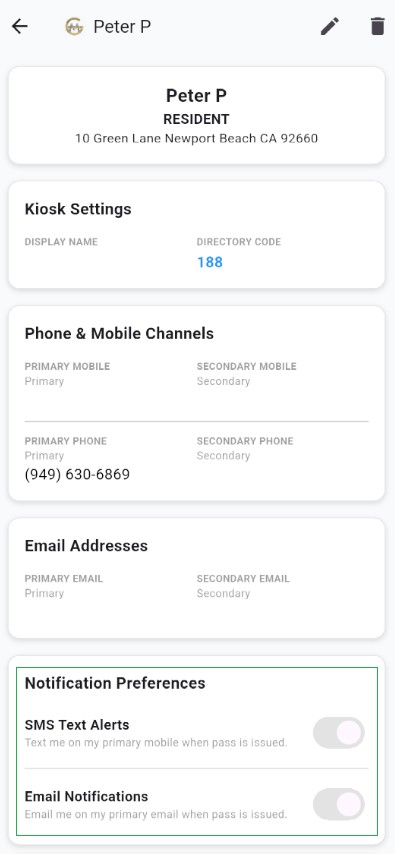
The details screen is read-only. Select the edit icon to change SMS, email, or E-Blast notification preferences.
On the Dashboard, select the edit icon beside Pass Code. Enter up to six numeric digits or generate a random code, then select Save.
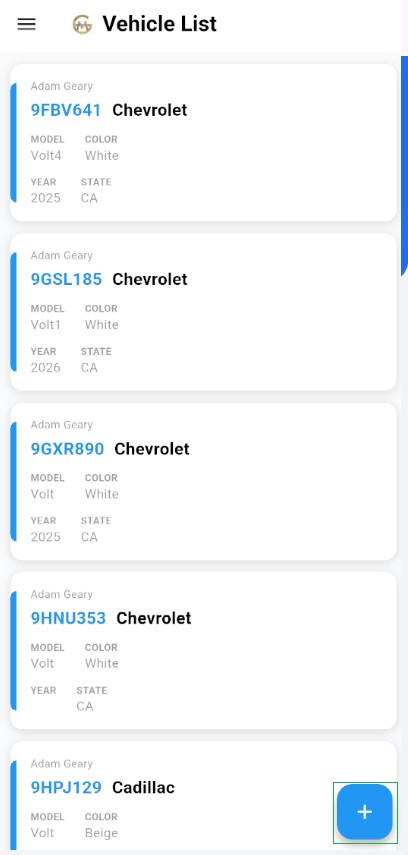
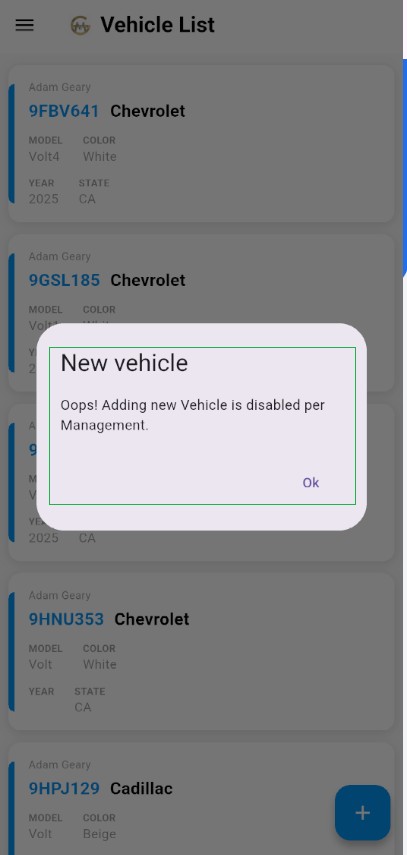
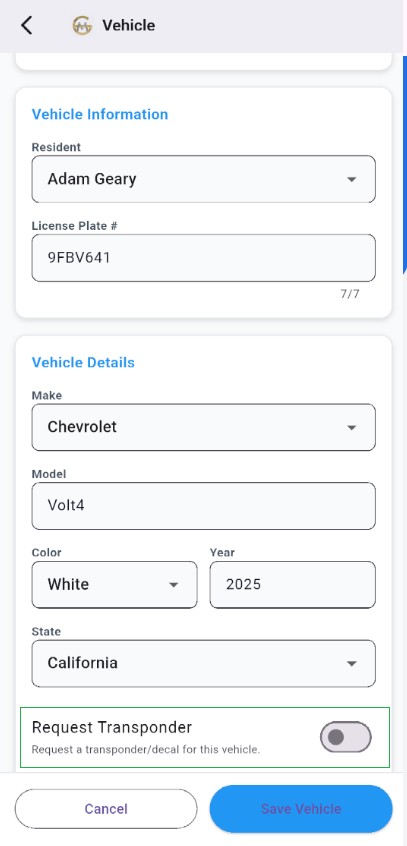
Open Vehicle List, select +, choose the responsible resident, enter the license plate, complete the available vehicle details, and select Save Vehicle.
Community management can disable resident vehicle changes. If the app says adding vehicles is disabled or the edit button is unavailable, contact community management.
No. It submits a request for a transponder or decal. Check the vehicle details later for the access-device and decal information.
Guest Activity and Reports
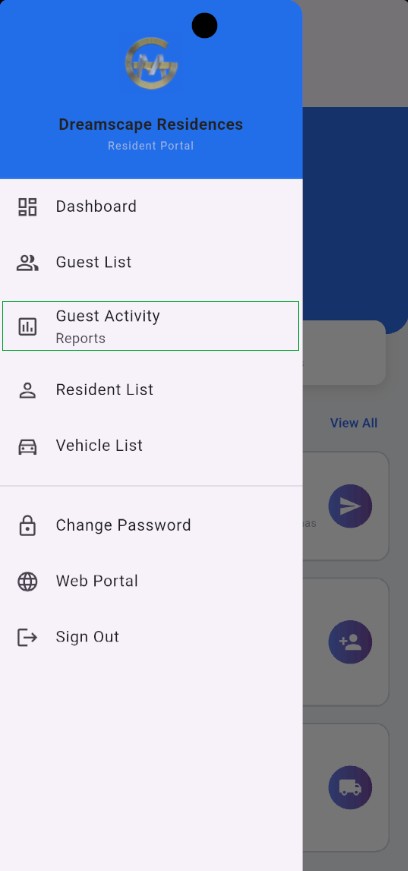
Open the drawer and select Guest Activity – Reports. Filter the report by Active, Expired, or All.
Green identifies an active pass. Red identifies an expired pass. Each card also shows validity dates, the associated resident, license plate, and creation information.
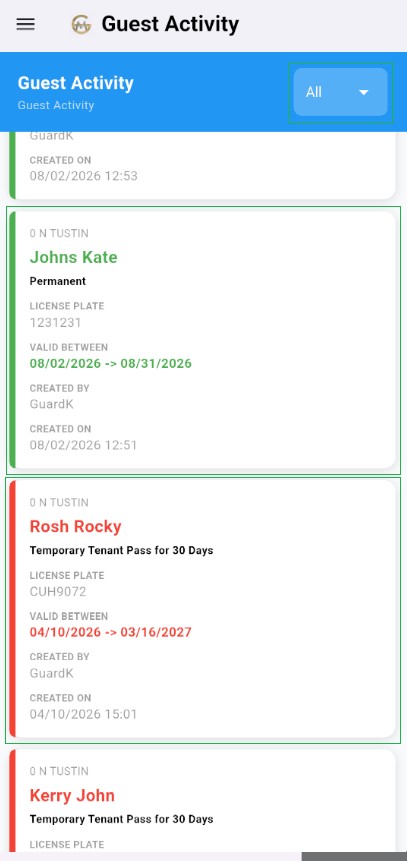
The current app version provides summary cards and contains whole information about the pass.
Video Calls and Notifications
GateMasters displays an incoming-call notification with the kiosk's name and message. Open it and select Accept to start the video session or Decline to reject it.
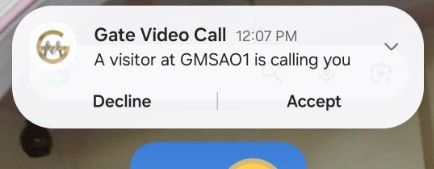
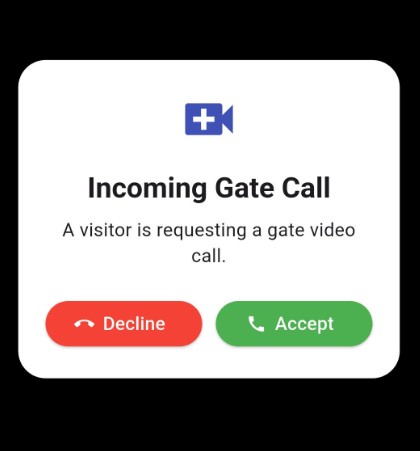
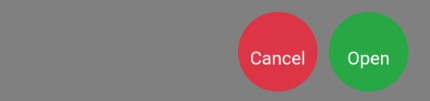
After accepting the call, verify the visitor's identity and reason for entry. Select Open only when the visitor is authorized; select Cancel to end the call without opening the gate.
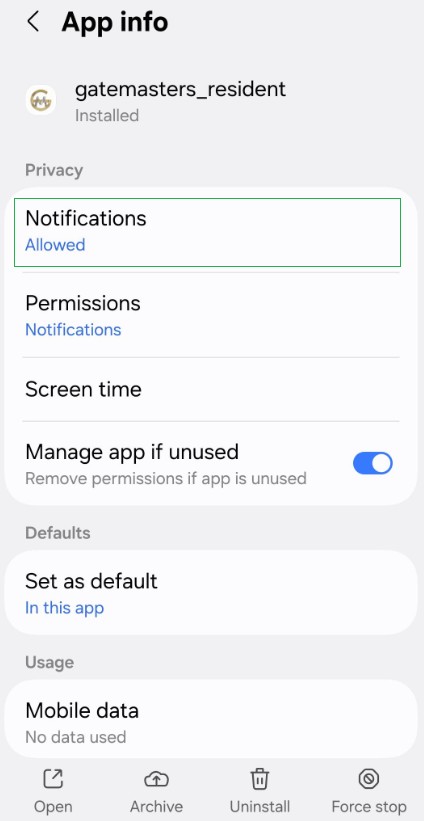
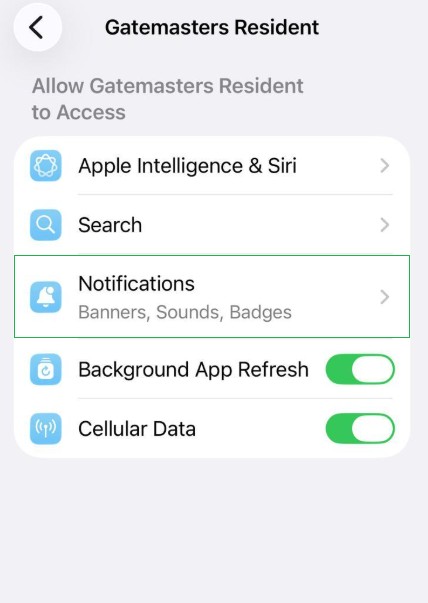
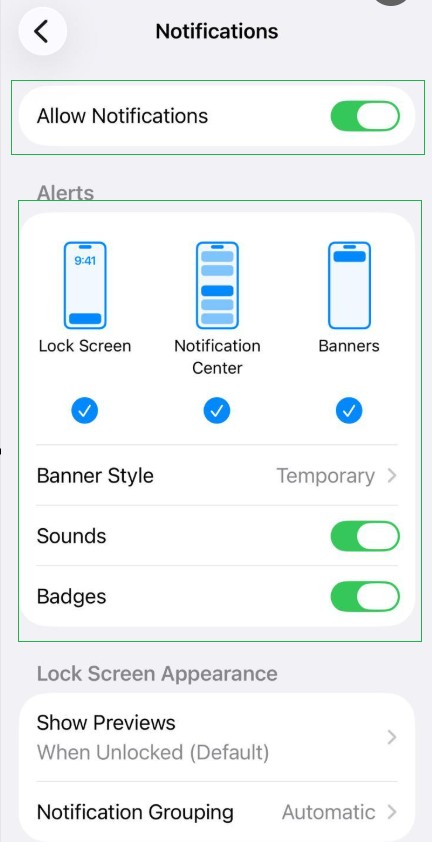
Confirm that GateMasters notifications are enabled, the device has internet access, and you remain signed in. Battery-saving or Focus/Do Not Disturb settings may also suppress alerts.
During app installation
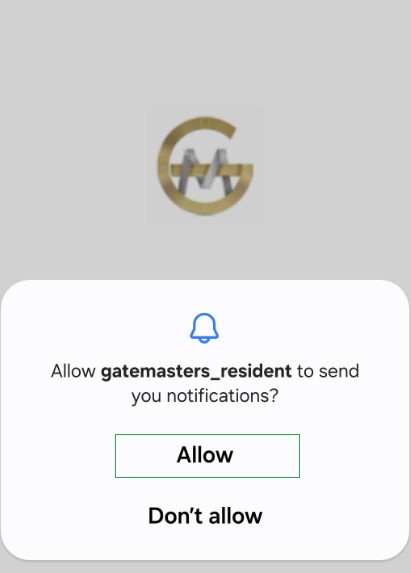
Android Settings
iPhone Settings
The call request did not contain a valid active session. Close the screen and ask the visitor to initiate another kiosk call.
Android notifications display Accept and Decline buttons directly, while iPhone notifications typically do not show these buttons on the banner. Instead, tapping the notification opens the app and presents the Accept and Decline options there.

Passwords, Security, and Support
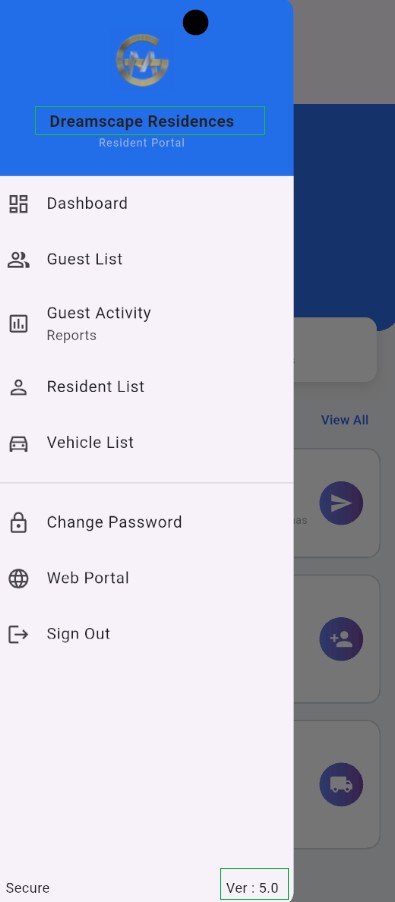
Open the drawer, select Change Password, and then select Go to Website to Change Password. Sign in on the GateMasters website and complete the password change there.
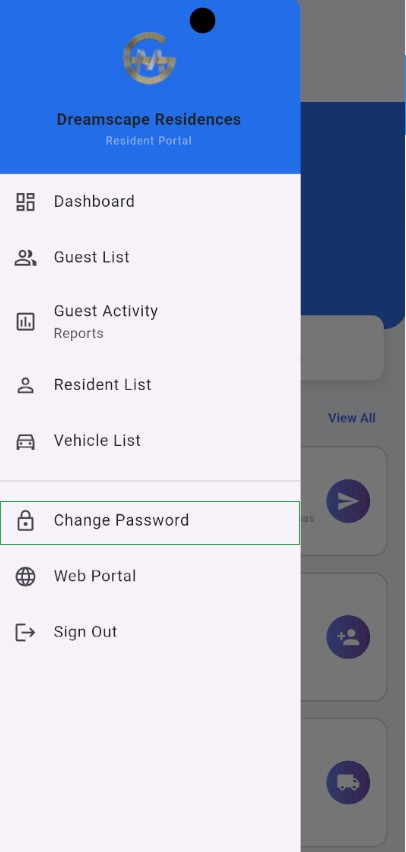
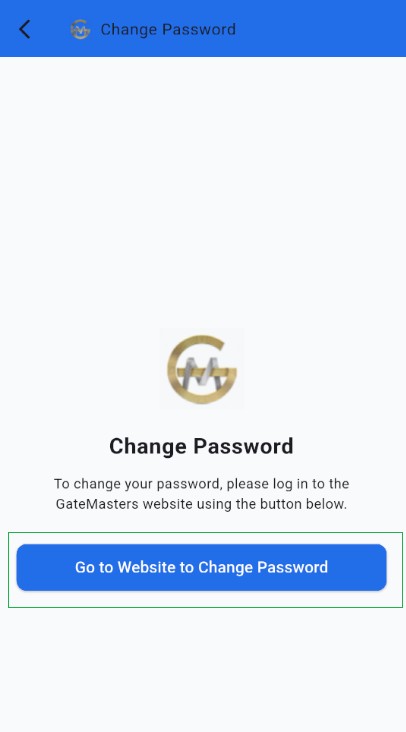
Use Change Password when you know the current password. Use Forgot Password? on the Login screen when you cannot sign in.
Select Web Portal from the drawer or Go to Web Portal from the Login screen. The portal opens in your default browser.
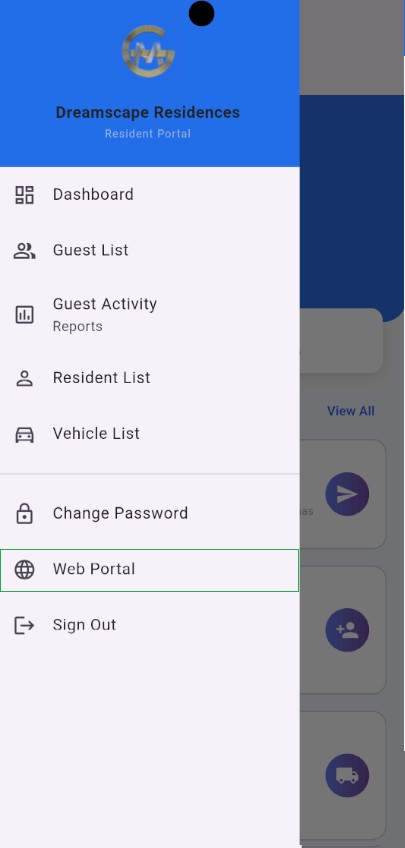
Open the navigation drawer and select Sign Out. This removes locally stored account and session information and returns to the Login screen.
Provide the device type, app version shown at the bottom of the menu, community name, screen name, and a description of the issue. Never send your password, kiosk code, resident pass code, or video-call session information.